
For companies which have established an account with CrossConnect for Zarafa Groupware E-mail Hosting, it is possible to migrate from an existing Exchange Server to our Zarafa server. This maintains data consistency and allows users to work with minimal interruptions to their workflow. E-mail, calendars, contacts, notes can all be migrated using this tool. While this guide covers Exchange migration, the tool will also migrate from PST boxes as well. This is not recommend for a company since it is labor intensive compared to server level migration.
STEP 1
Do NOT install these files on your Exchange Server. On a separate workstation running Windows XP, Windows 7 or above, download these two files and install them:
https://z.xc.org/zarafaclient.msi
# This is the Outlook plugin which enables MAPI connections for Zarafa and is required to connect to the Exchange server correctly
https://z.xc.org/zarafamigrationtool.exe
# This is the actual migration tool itself
STEP 2
You should not have to reboot for the tool and plugin to work, but you may do so if you like.
STEP 3
If you are coordinating a server migration with us, you may have received a file named config.cfg. If so, copy the config.cfg file into the folder where the migration tool is installed. Usually, this is
C:\Program Files (x86)\Zarafa Migration Tool\
You are free to review the config.cfg file in an ASCII editor such as Notepad. If you do so, please go ahead and enter your Exchange server name or IP address in the appropriate field along with the administrator login and password. This is used to connect TO the Exchange server. The entries for our Zarafa server likely will have already been entered.
STEP 4
You may use the GUI for the migration. It’s a simple set of screens to click through. Follow the screenshots and instructions below:
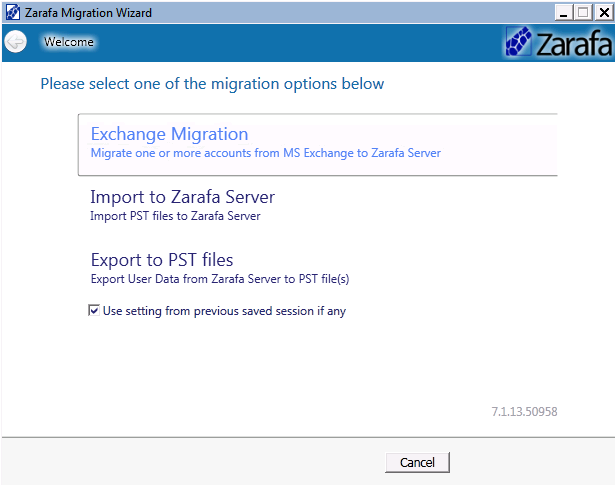
Run the program. Make sure the box is checked “Use setting from previous saved session if any.” This should use the config.cfg file if it exists in the program’s folder.
Select Exchange Migration.
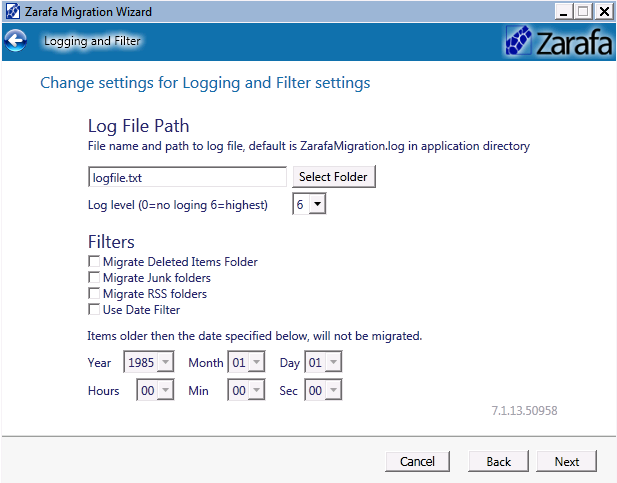
Unless you definitely want to copy Junk and Deleted folders, make sure they are deselected. Logging at level 6 is recommended for debugging. You may optionally select a date range BEFORE which e-mails will not be copied. This is handy for pruning boxes of people who keep everything and never prune their own boxes.
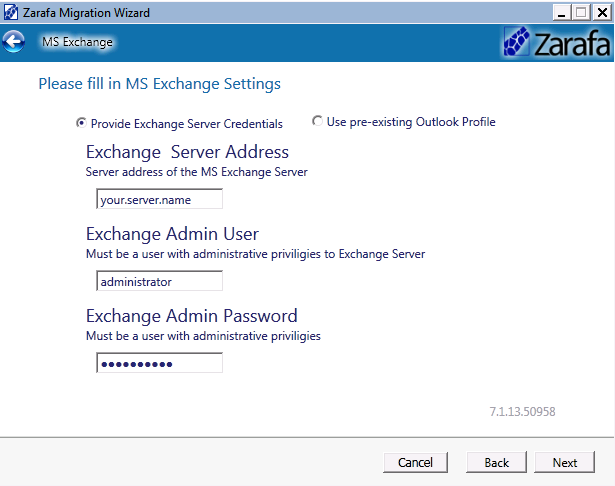
Enter your Exchange server IP address or name. This machine must be reachable by the machine running the migration tool. Enter the credentials for a user with administrative level privileges on the Exchange server.
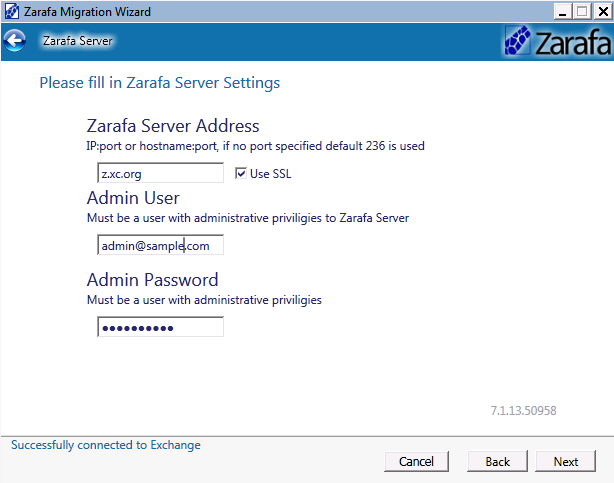
This page contains the server address and username and password for a user with credentials to copy mailbox contents into your domain on our server. This may be a temp box we create, or it may be an existing user with domain admin level privileges which we set.
Use the file Browse option to point to the file containing your legacyExchangeDN and e-mail address mappings. This file must look like this:
DataSourceUser,DestinationUser
/o=Your Organization/ou=Exchange Administrative Group (JGHOPITY35PGQUS)/cn=Recipients/cn=exchange_username,newemail@domain.com
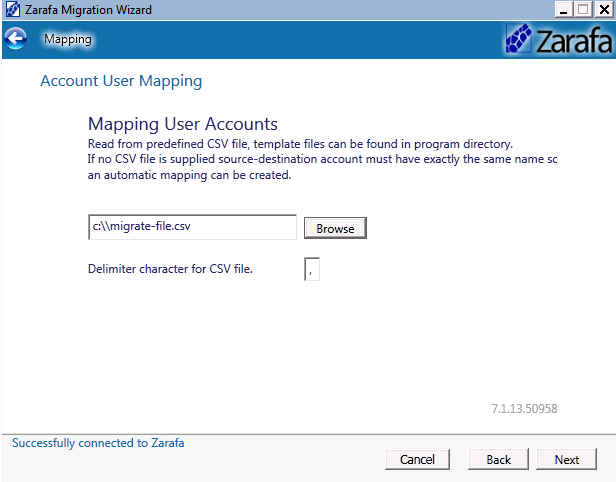
Next, hit the Start Migration button. If things are progressing correctly, you will see progress indicators on all the bars. When it is finished, it will look like this. If you get an error, be sure to note exactly what that error is before contacting us.
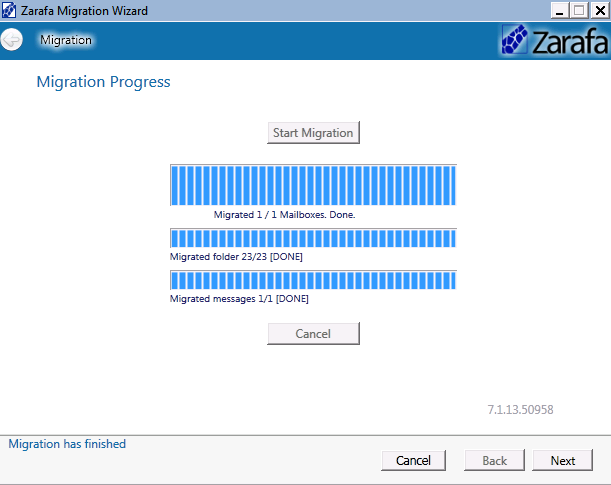
You can click Next and Finish. Optionally, you can open the report(s) in a browser.
Users can log into their mailboxes and check that the contents have been copied correctly.
If you need to run the utility multiple times, the migration tool will only copy/sync the items which are NEW since the last sync.
If you run into any troubles, you can run the zarafamigrationCmdLine.exe in the program’s folder from a DOS prompt. If config.cfg exists with parameters — including the .csv file, it will run straight up with no further command line options needed. It will also show more details if there ARE errors, such as MAPI inaccessible type errors.